
5 Basic Audio Synthesis Techniques To Try With Arduino
5 ways to create simple tones using an Arduino


Have you ever thought about whether you should begin if you want to make a synthesizer with an Arduino? Well before you, start constructing racks for your first modular synth, its a good idea to get to grips with some of the basics. In this post, I will introduce you to five different ways that you can start to create tones with an Arduino without any additional components and create tones using different techniques.
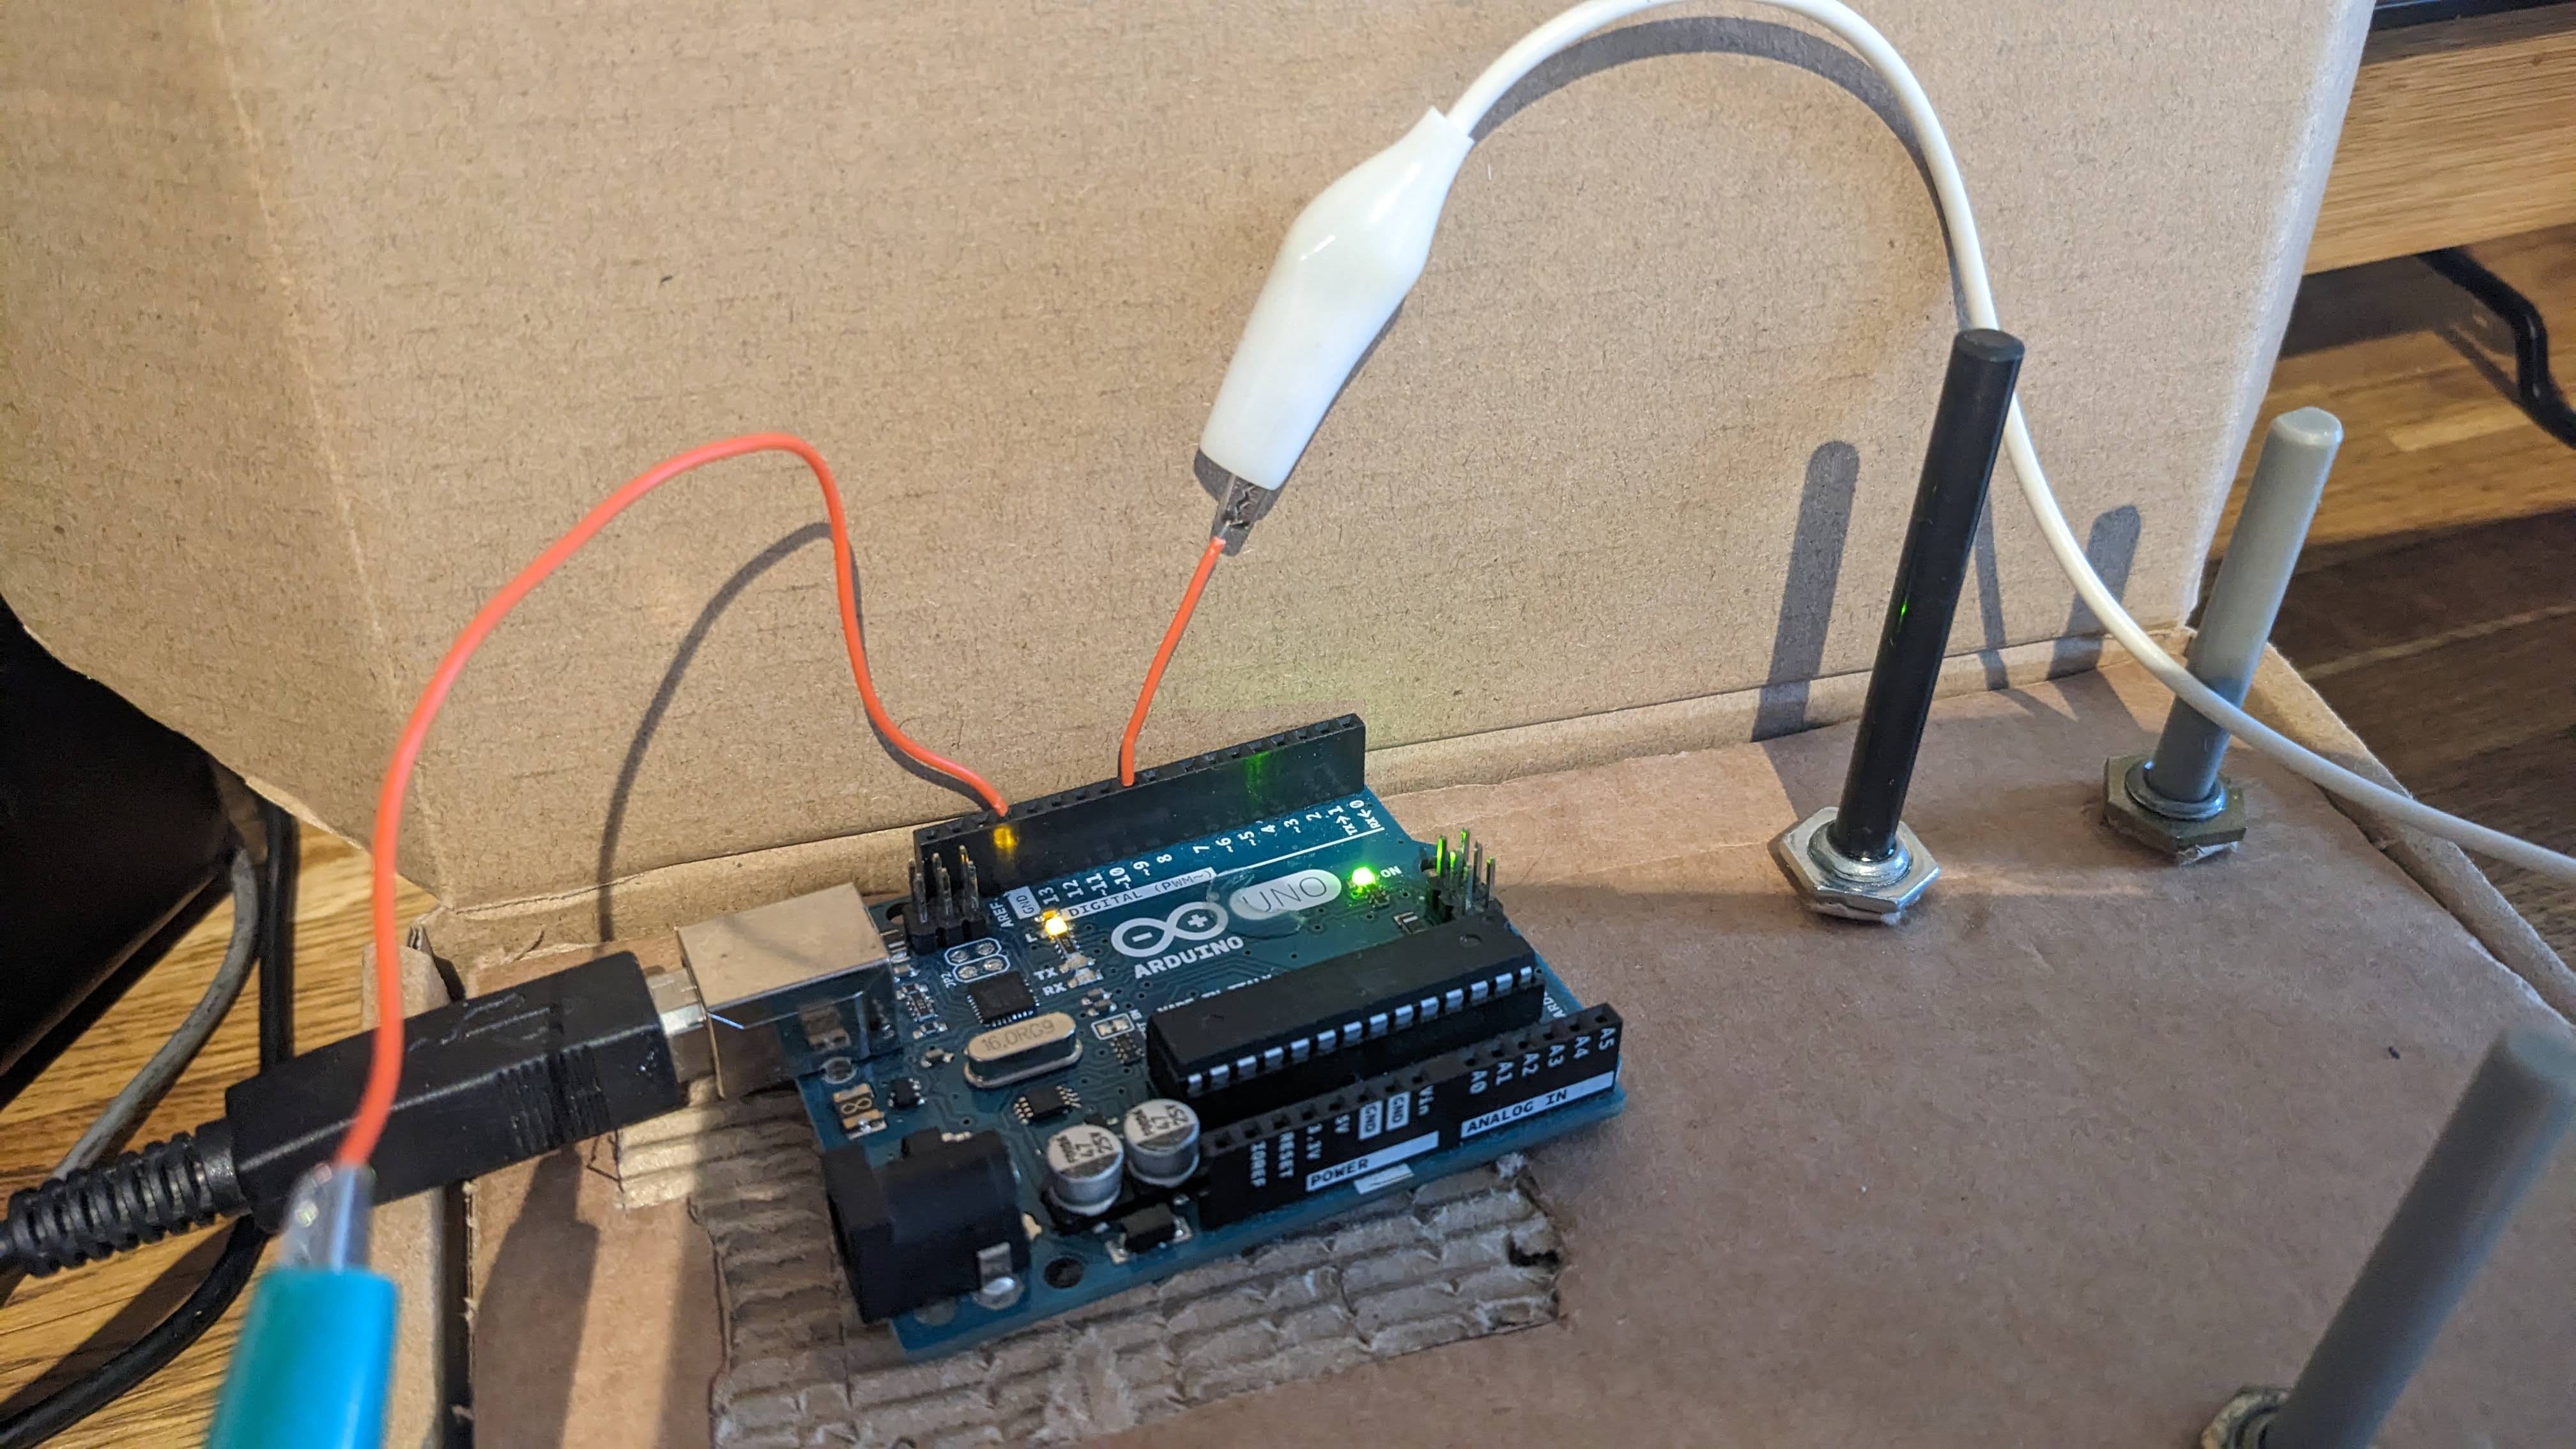
Before we get started, we need to go over what you’ll need to have to hand. You'll need an Arduino board (I am using an Arduino Uno for this) a breadboard, a speaker and some jumper wires or crocodile cables will also work if you don’t have a stash of jumper wire to hand.
Arduino board
USB Cable
Budget speaker with two wires attached ( or a pair of headphones)
Jumper wires (or crocodile cables with a small amount of jumper wire to push into the Arduino ports)
100 ohm resistor to connect between the speaker and pin 9. This is to reduce the load and risk of damaging either audio equipment or the board.
breadboard (optional)

Connect a jumper wire on pin 9, and connect that to a 100 ohm resistor, then attach that wire to one of your speaker wires marked positive +
Then connect another jumper wire to the ground pin called GND on the Arduino and then connect that to the other speaker wire marked negative -
Open up the Arduino IDE and copy and paste your first example below. Then connect your Arduino to the USB lead and plug it into your computer.
Make sure you have selected the right Arduino board from the list of boards and the right port. On my Arduino UNO, it needed to be connected to the USB port, but that may differ depending on your own computer.
Once you've got these materials ready, let's start to look at some techniques.
I’ve kept things relatively simple here, there's plenty of room to explore further and create even more complex and interesting sounds by adding more components and experimenting with different sketches or code.
Each example has a sketch below can be copied and pasted into the Arduino IDE a simple code editor that creates code for uploading to the Arduino board.
If you want a primer on using an Arduino, it would be a good idea to understand how you upload to the board first. So, if you are unsure about how to get code onto the Arduino board you can explore these resources.
https://docs.arduino.cc/learn/starting-guide/getting-started-arduino
1) Simple example sketch that demonstrates Pulse Width Modulation (PWM) to generate a tone on the Arduino:
int speakerPin = 9; // connect speaker to digital pin 9
void setup() {
pinMode(speakerPin, OUTPUT); // set the speaker pin as an output
}
void loop() {
// generate a 1 kHz tone with 50% duty cycle (i.e., a 50% PWM signal)
analogWrite(speakerPin, 127);
delay(500); // wait for 500 milliseconds
analogWrite(speakerPin, 0); // turn off the tone
delay(500); // wait for another 500 milliseconds
}
In the loop() function, we will use the analogWrite() function to generate a 50% PWM signal at a frequency of 1 kHz on the speaker pin.
We then wait for 500 milliseconds using the delay() function, turn off the tone by setting the PWM signal to 0, and wait for another 500 milliseconds before repeating the process. You can modify the frequency and duty cycle of the PWM signal to generate different tones.
For example, if you set the analogWrite(speakerPin) value to a different number and the delay() to 10 , you get a much faster PWM signal with a different tone but the pitch remains the same.
2_ An example sketch for generating a tone using the tone() function:
int speakerPin = 9; // connect speaker to digital pin 9
void setup() {
pinMode(speakerPin, OUTPUT); // set the speaker pin as an output
}
void loop() {
// generate a 1 kHz tone for 1 second
tone(speakerPin, 1000, 1000);
delay(1000); // wait for 1 second
}
In the setup() function, we will set the speaker pin as an output. In the loop() function, we use the tone() function to generate a 1 kHz tone for 1 second on the speaker pin. We then wait for 1 second using the delay() function before repeating the process. You can modify the frequency and duration of the tone by changing the arguments to the tone() function.
3_ an example sketch for generating a sine wave using waveform synthesis with the TimerOne library:
#include <TimerOne.h>
int speakerPin = 9; // connect speaker to digital pin 9
unsigned int sampleRate = 8000; // set the sample rate (samples per second)
void setup() {
pinMode(speakerPin, OUTPUT); // set the speaker pin as an output
Timer1.initialize(1000000 / sampleRate); // set the timer interval
Timer1.attachInterrupt(generateWaveform); // attach the interrupt function
}
void loop() {
// do nothing
}
void generateWaveform() {
static unsigned long phaseAccumulator = 0; // initialize the phase accumulator
static float phaseIncrement = 440.0 * 65536.0 / sampleRate; // calculate the phase increment (for 440 Hz)
static float amplitude = 127.0; // set the amplitude (out of 255)
int outputValue = (int)(amplitude * sin(phaseAccumulator * 2.0 * 3.1415926 / 65536.0) + 127.0); // generate the output value (between 0 and 255)
analogWrite(speakerPin, outputValue); // write the output value to the speaker pin
phaseAccumulator += phaseIncrement; // update the phase accumulator
}
You will first need to install the TimerOne library from Arduino Ide > Tools > Manager Libraries
Then search for TimerOne and click install. Then this library will be available to be included in your sketch

This sketch sets the sample rate to 8000 samples per second. In the setup() function, we will set the speaker pin as an output, initialize the TimerOne library with an interval of 1/8000 seconds (i.e., the sample rate), and attach the generateWaveform() function to the timer interrupt.
In the generateWaveform() function, we can use a phase accumulator to keep track of the phase of the sine wave. We then calculate the phase increment based on the desired frequency (in this case, 440 Hz), and update the phase accumulator with each timer interrupt. We then use a sin() function to calculate the value of the sine wave at the current phase, scale it to a range between 0 to 255, and write it to the speaker pin using the analogWrite() function.
This is just a relatively straightforward example of a way of generating a sine wave using waveform synthesis. You can modify the frequency and waveform shape by changing the phase increment calculation and the sin() function, respectively. You can also experiment with other waveforms like triangle and sawtooth waves.
4 An example sketch for generating a square wave using digital synthesis:
int speakerPin = 9; // connect speaker to digital pin 9
unsigned long halfPeriod = 500; // set the half-period (in microseconds)
void setup() {
pinMode(speakerPin, OUTPUT); // set the speaker pin as an output
}
void loop() {
digitalWrite(speakerPin, HIGH); // set the speaker pin high
delayMicroseconds(halfPeriod); // wait for half the period
digitalWrite(speakerPin, LOW); // set the speaker pin low
delayMicroseconds(halfPeriod); // wait for the other half of the period
}
In this sketch, we need to set the half-period to 500 microseconds (which corresponds to a frequency of 1 kHz). In the setup() function, we set the speaker pin as an output.
In the loop() function, we use the digitalWrite() function to set the speaker pin high, wait for half the period using the delayMicroseconds() function, set the speaker pin low, and wait for the other half of the period before repeating the process.
This is just a simple example of generating a square wave using digital synthesis. You can modify the frequency and duty cycle by changing the half-period value, and you can experiment with other waveforms like triangle and sawtooth waves by tweaking the code.
5_ an example sketch for generating a melody using the tone() function:
#include <toneAC.h>
int speakerPin = 9; // connect speaker to digital pin 9
int NOTE_C4 = 262; // frequency of C4 note (in Hz)
int NOTE_G3 = 196; // frequency of G3 note (in Hz)
int NOTE_A3 = 220; // frequency of A3 note (in Hz)
int NOTE_B3 = 247; // frequency of B3 note (in Hz)
int melody[] = { NOTE_C4, NOTE_G3, NOTE_G3, NOTE_A3, NOTE_G3, 0, NOTE_B3, NOTE_C4 }; // define the melody notes (using note frequencies)
int durations[] = { 4, 8, 8, 4, 4, 4, 4, 4 }; // define the note durations (in quarter notes)
int noteCount = sizeof(melody) / sizeof(int); // count the number of notes in the melody
int tempo = 120; // set the tempo (in beats per minute)
int beatLength = 60000 / tempo; // calculate the length of each beat (in milliseconds)
void setup() {
pinMode(speakerPin, OUTPUT); // set the speaker pin as an output
}
void loop() {
for (int i = 0; i < noteCount; i++) {
if (melody[i] == 0) { // if the note is a rest
delay(beatLength / durations[i]); // wait for the rest duration
} else { // if the note is a tone
tone(speakerPin, melody[i], beatLength / durations[i]); // play the tone for the note duration
}
delay(beatLength / 20); // add a small delay between notes
}
}
This example utilises the ToneAC library which you can install and then include from the Arduino IDE through the Tools > Manage Libraries menu.
First, the sketch defines the pin number for the speaker output, the melody notes as an array of frequencies, and the duration of each note and pause.
In the setup() function, the sketch sets the melody pin as an output.
In the loop() function, the sketch iterates through the melody notes using a for loop. For each note, it plays the note using the toneAC function with the current frequency and duration. It then waits for the note to finish playing using the delay function. After that, it adds a pause between notes using the delay function.
The result is a loop that plays the melody continuously, with a pause between each note. The melody can be modified by changing the frequency values in the melody array.
Conclusion
These are just a few different ways of generating tones with the Arduino which can be expanded upon and experimented with further depending on what you want to do with them.
There are plenty of more advanced libraries available for the Arduino to generate more complex waveforms, but I’ll explore some of those in future posts.
To go further with the examples in this post, try some links below for further reading.
Further Reading
https://www.tutorialspoint.com/arduino/arduino_tone_library.htm
https://github.com/teckel12/arduino-toneac
https://github.com/PaulStoffregen/TimerOne
https://diyelectromusic.wordpress.com/2021/07/27/arduino-pwm-sound-output/