
Bandlab: Creating a drum machine track
Drum Machine Fundamentals in BandLab


Moving on from our first post in this series Bandlab: Creating your first track: Virtual Instrument Track, let’s continue with another fundamental type of track within Bandlab – creating drum patterns in BandLab. For anyone who's been following my Pushing the Envelope Generator series on Bandlab so far, we’ve covered some of the basics of Virtual Instruments, but today we’re getting right into using BandLab’s drum machine to get started with drum loops and patterns for your tracks.
Step 1: Select the Drum Machine Track
First things first, you want to select the Drum Machine track.
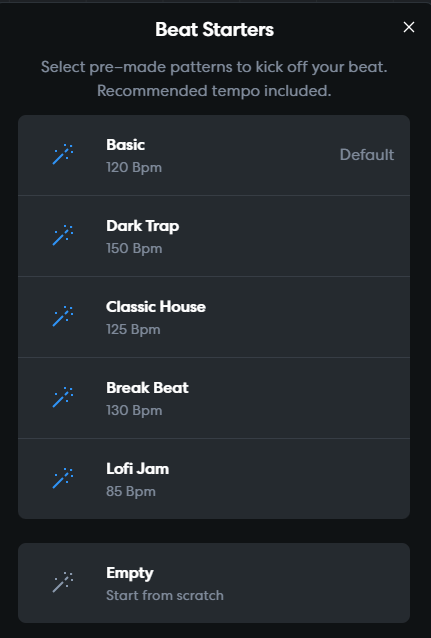
BandLab gives you a few options to start a new project, but in this case, let’s keep it simple and choose "Empty – Start from scratch." This will give you a blank song to build your beats and loops in whatever way you like.
Step 2: Enter the Drum Pattern Editor
Once you’ve got your empty song setup, you’ll notice that BandLab has set you up to start building a drum pattern.

The interface here is similar to the default virtual instrument view, but it’s designed specifically for editing drum patterns. You’ll see a grid-like layout where each row represents a different part of the drum kit (kick, snare, hi-hats, etc.).
By default you are given empty patterns which comprise of 4 bars of Pattern A and 4 bars of Pattern B

Step 3: Start Building with Patterns A and B
When you first get started, you’ll see Pattern A and Pattern B by default. Each of these patterns contains four bars of 16 notes, giving you the flexibility to create two different loops you can switch between. You can start building your beat by double-clicking on the grid in Pattern A, then move to Pattern B to create some variation.

Just start selecting notes and you’ll hear them play as the bars loop from the beginning to the end. If you don’t like the placement of a particular instrument.
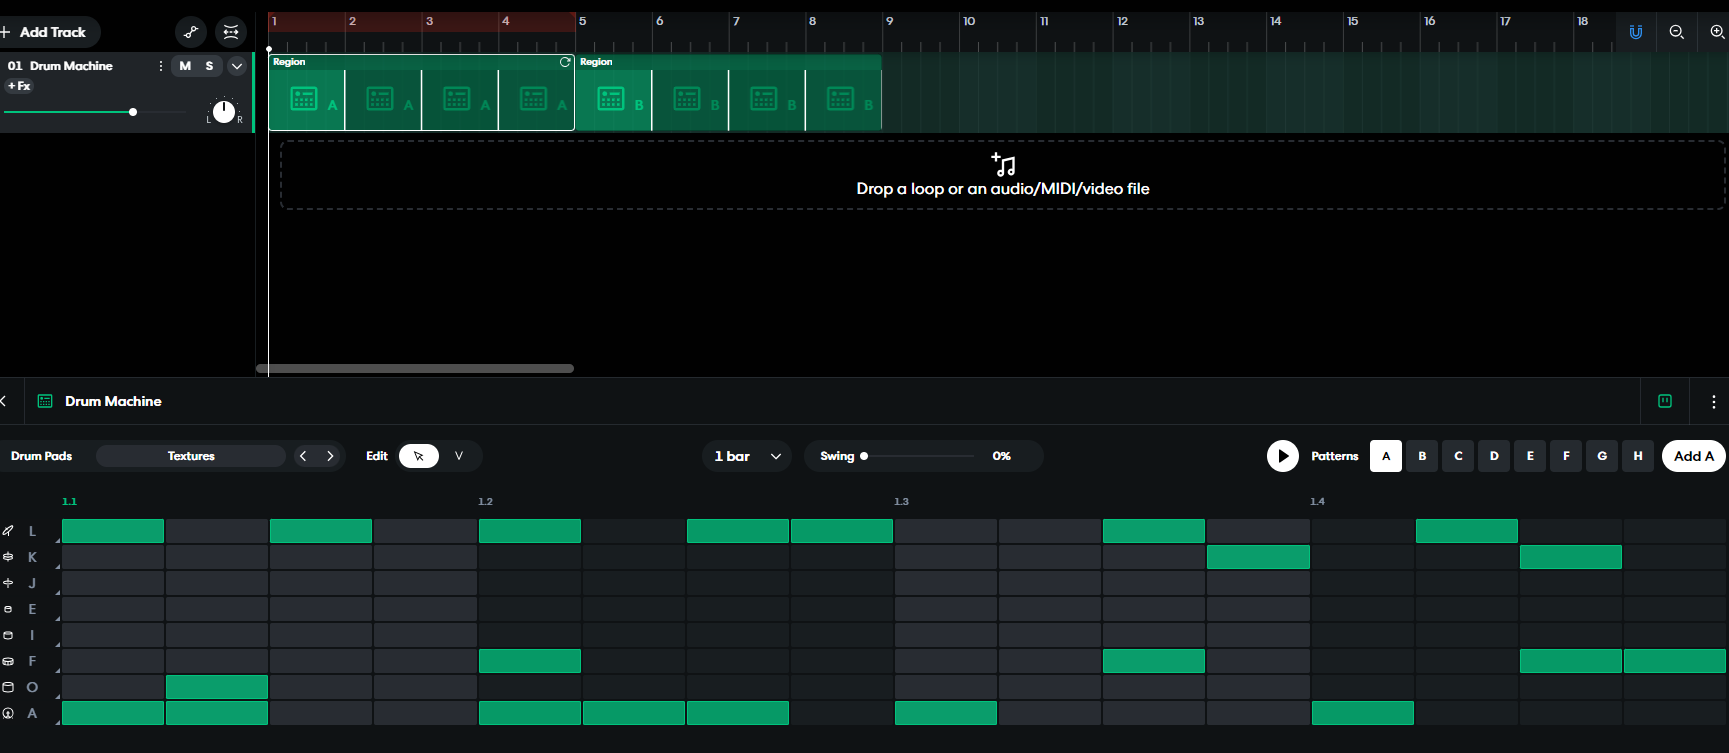
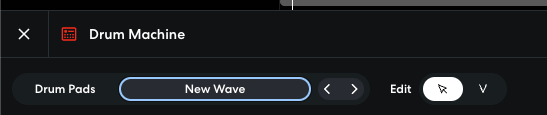
This drum pattern track has a similar feel to the way classic drum machines like the Roland TR-808 was set up, back in the day. Its suprisingly intuitive to use. See each block as a bar, and when you press play or record, you’ll see a highlighted bar moving along the 16 notes and 4 bars to help you keep in time. Don’t worry too much at first trying to get the right beat or loop you want to produce, just experiment. Try different kits which you can select from the menu.
Step 4: Adding New Patterns
But what if you want to keep things interesting by adding Pattern C? Just take a look at the bottom-right corner of the interface just above the drum loop you just created. You’ll find a section that allows you to add additional patterns to your project. Click the “Add C” button, and voila – Pattern C will be added to your timeline wherever the main track’s playhead is currently positioned. If it doesn’t work first time, you may need to add some actual beats into pattern c before you can add it to the track.
Now you can keep creating and adding patterns, layering them to build up your track with more complexity.


Step 5: Layering Additional Drum Tracks
Once you’ve got your first drum pattern locked in, you can give the sound more weight by adding other drum pattern tracks. This layering technique adds richness and depth to your beats.
Finally, don't forget you can push your creativity even further by adding other instrument tracks to complement your drum track. Layering additional instruments can give your beat more structure, emotion, and flow – whether that’s by adding a bassline or some synth chords. Remember, the drum pattern is the backbone, but the other instruments give the track life.